Unlock the Secrets to Recreating Viral Motion Graphics with AI
Discover how to recreate viral motion graphics reels in minutes using AI, multimodal analysis, and next-gen video diffusion models.
Introduction
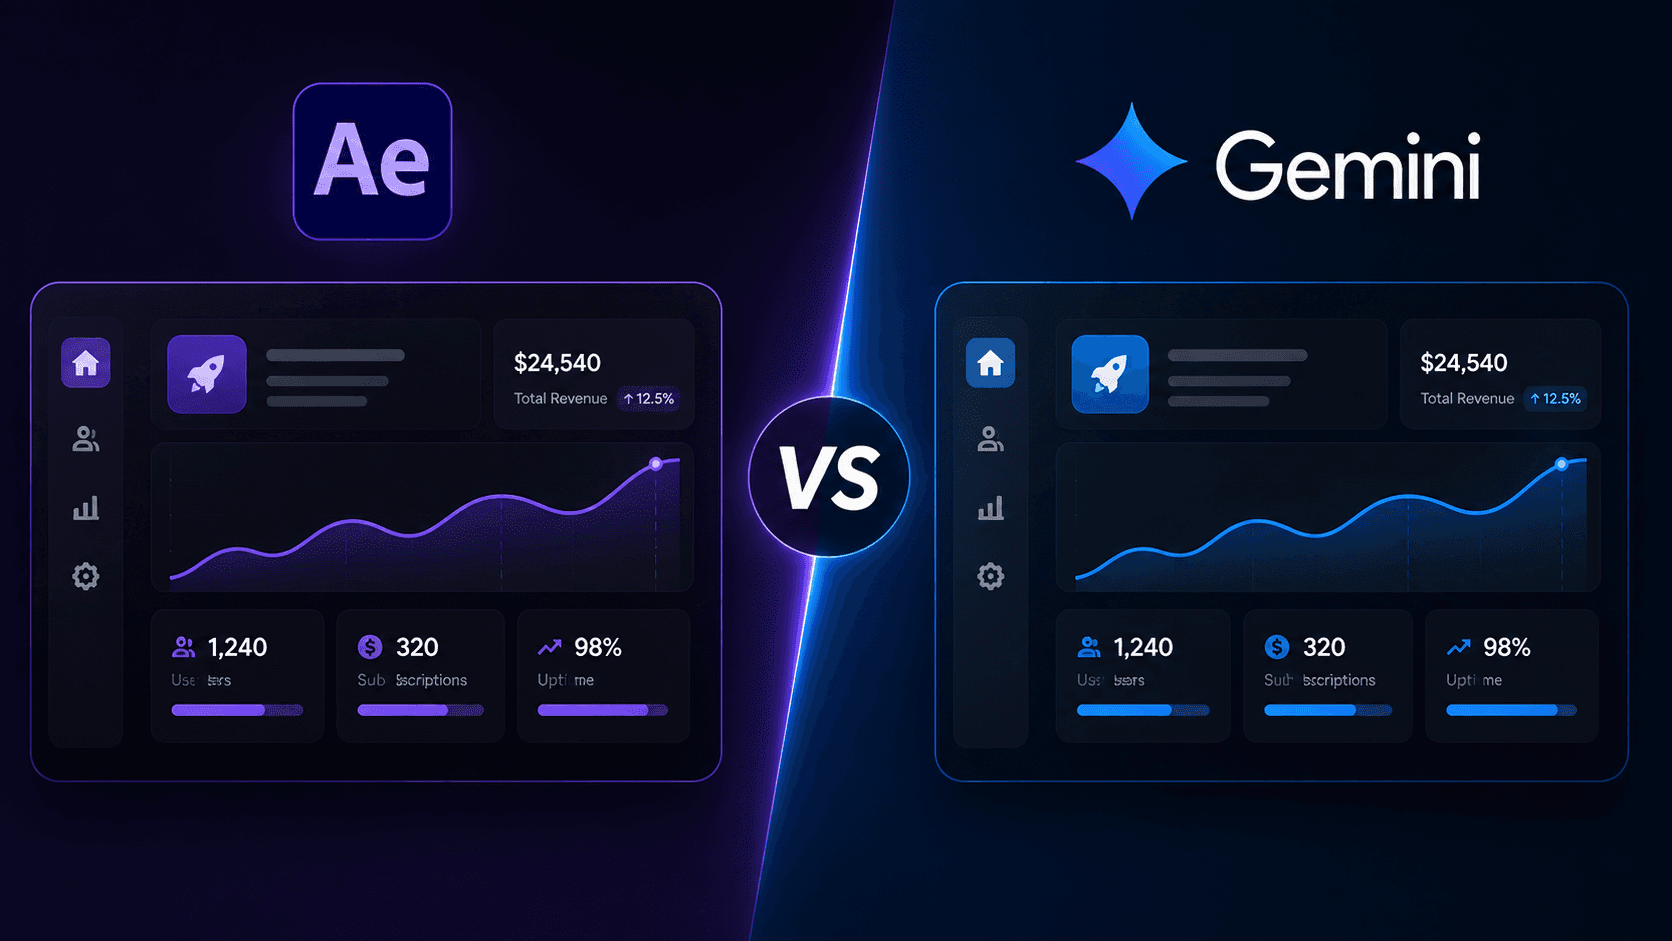
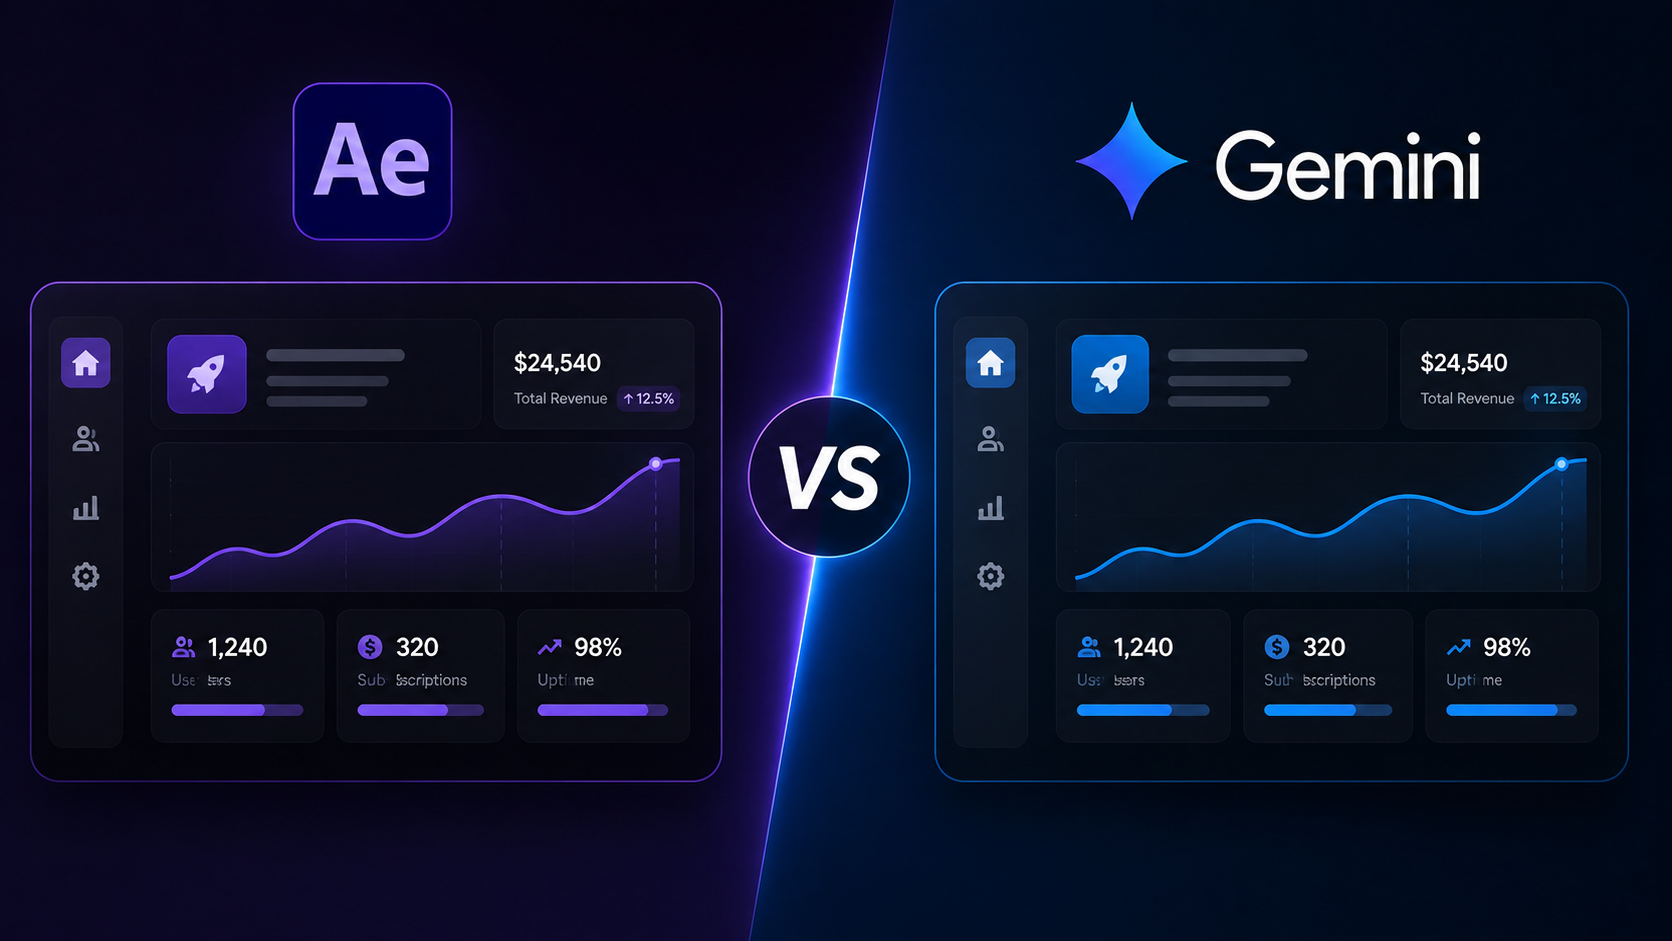
Creating high-retention, aesthetic motion graphics used to require extensive experience with software like After Effects, demanding hundreds of hours on complex keyframing and 3D motion-design expertise. Today, the landscape has dramatically shifted. By leveraging platforms like Pinterest for visual inspiration, advanced LLMs (Large Language Models) such as Gemini and Claude for multimodal analysis, and cutting-edge video diffusion models like Google Flow with Omni Flash / Veo, you can reverse-engineer viral motion reels and produce custom, high-converting assets in a fraction of the time.
This article provides a comprehensive guide to the secret AI workflow that transforms reference videos into production-ready AI motion prompts.
The 4-Stage Motion Pipeline
The process of creating high-retention motion graphics involves four key stages:
- Visual Discovery & Reference Sourcing: Utilize platforms like Pinterest and Instagram to find viral video references.
- Multimodal Deconstruction: Analyze the video frame-by-frame using multimodal AI, extracting crucial visual elements.
- Prompt Synthesis & Text Customization: Convert the analysis into a structured video prompt.
- Generation & Layer Assembly: Use Google Flow to generate the video and assemble the final product.
Step 1: Sourcing High-Retention Motion References
The foundation of every great video is proven visual rhythm. By identifying what already resonates in the market, you can ensure your creation will engage viewers. Here's how:
- Search for terms like "clean kinetic typography," "minimalist motion graphics," or "3D product reel" on Pinterest or Instagram.
- Look for videos with strong color contrast, dynamic kinetic hooks within the first 2 seconds, and clean camera movements.
- Download the target video in high definition (MP4 format).
Step 2: Reverse-Engineering with Multimodal AI
Upload your reference video into a multimodal AI tool such as Gemini 1.5 Pro or Claude 3.5 Sonnet. Use the following system prompt to extract detailed visual data:
Act as an elite Motion Designer and AI Prompt Engineer. Perform a frame-accurate, beat-by-beat reverse engineering of the entire video duration.For each distinct scene/cut/beat, extract structured data across these categories:

Timing & Camera:

Exact timestamp range (Start – End in seconds)
Camera motion vector: Static, rapid push-in, whip-pan direction, zoom scale factor, depth of field (shallow/deep/infinite)
Framing & layout grid: Subject placement (X/Y coordinates relative to 9:16 frame), scale percentage


Core Visual Generation Layer (AI Base):

Primary subjects & 3D metaphors: Exact geometry, material shader (matte, frosted glass, chrome, plastic, clay), lighting setup (key/fill/rim, direct/diffuse), drop-shadow behavior
Background environment: Flat solid (#HEX), geometric shape layers, wireframe grids, gradient flow, particle/dust layers


Post-Production Overlay Layer (Typography & UI):

Text & Motion: Exact wording, typeface classification (sans/serif/condensed), weight, capitalization, bounding box styling, text reveal mechanics (mask slide, kinetic scale, blur-in, letter-swap)
Graphic accents: Vector line weight (px), icons, sticker badges, progress indicators, framing guides


Color Grading & Aesthetic Profile:

Dominant palette (#HEX approximations) for Background, Primary Subject, and High-Contrast Accent
Surface textures & post-effects (halftone, paper grain, lens flare, chromatic aberration, scanlines)


Seamless Transition Mechanics:

In-motion vs. Out-motion: Hard cut, directional blur streak, whip zoom, liquid morph, match-cut axis


Summary at the Top:
Aspect Ratio, FPS, Total Duration
Motion Pacing & Energy Curve (cuts per second, peak visual hooks)
Core Visual Theme & Recurring Design Language
Generation Feasibility Note (Which elements belong in the AI generation prompt vs. which must be added in post-edit to prevent model glitches)
Step 3: Converting Analysis into Video Prompts
The raw analysis obtained from the AI cannot be directly used for video generation. It needs to be converted into a single, cohesive prompt. Use the following converter prompt:
Using the extracted analysis from Phase 1, construct an optimized, high-fidelity AI video generation prompt tailored for modern text-to-video diffusion engines (10.0-second native generation).Ensure the prompt focuses strictly on camera dynamics, visual physics, lighting, and spatial layouts, avoiding cluttered instructions that trigger artifacting or morph glitches.The prompt must include the following distinct sections:

[STYLE & ATMOSPHERE]

A single, high-density line specifying visual style, rendering engine quality (e.g., Unreal Engine 5 octane render / commercial studio motion design), exact lighting setup, shadow softness, surface shaders (frosted glass, matte, metallic), and color grading profile.


[TECHNICAL PROFILE]

Native aspect ratio (9:16 vertical), resolution (1080x1920), 30fps target, total runtime (10.0s), and continuous render consistency mode.


[TEMPORAL BEAT SEQUENCE (0.0s – 10.0s)]

Break down the 10 seconds into distinct, sequential sub-shots/beats with exact timestamps.


[GRAPHIC & TYPOGRAPHY SYSTEM]

Universal font taxonomy, weight, case rules, bounding badge styles, and kinetic reveal instructions.


[NEGATIVE DIRECTIVES / ARTIFACT CONTROL]

A dedicated negative constraint block banning common AI video failure modes (e.g., text warping, melting limbs, unwanted morphs, flickering textures, chaotic camera shaking).


[SOUND & AUDIO TIMELINE]

Audio design line syncing beat drops, percussive riser hits, whooshes, and tactile UI click SFX to specific second timestamps.


[HERO FINAL FRAME]

Exact description of the final resting composition, lighting lock, and focal anchor.
Step 4: Customization & Rendering in Google Flow
With the structured prompt block ready, proceed to customize text hooks, headlines, and color palettes to align with your brand. Follow these steps for rendering:
- Open Google Flow.
- Select the Omni Flash / Veo generation engine.
- Set output aspect ratio to 9:16 (1080×1920 Vertical).
- Paste your customized prompt block and click Generate.
Pro-Tips to Eliminate AI Glitches & Artifacts
| Issue | Root Cause | Fix |
|---|---|---|
| Melting Text | Complex typography embedded directly into the diffusion model | Generate the raw 3D base visual in AI; overlay crisp text in CapCut, DaVinci, or Premiere. |
| Chaotic Morphs | Too many object transitions in a single 10-second run | Split the generation into two 5-second sub-clips and stitch them in post. |
| Flickering Shaders | Conflicting material definitions in prompt | Stick to 2 consistent surface textures (e.g., matte clay + frosted glass). |
Summary Checklist
- Find reference on Pinterest with strong motion retention.
- Run Phase 1 Prompt in Gemini / Claude for a frame-accurate breakdown.
- Run Phase 2 Prompt to create a structured generation prompt.
- Customize copy & brand colors.
- Render in Google Flow with Omni Flash.
By following this pipeline, you can dramatically reduce motion graphics production time, offering solo creators, freelancers, and video strategists the speed of AI with the polish of agency-grade design.
Related Articles
The Ultimate Guide to Creating 3D Kids Animation Song & Videos
Discover the easiest AI workflow to create vibrant 3D kids animation videos from scratch—no 3D modeling or animation experience needed.
How to Create 3D Cartoon Story Videos with AI For FREE (Full Workflow & Prompts)
Master the complete step-by-step pipeline to create viral Pixar-style 3D animated kids stories using Google Gemini, Google AI Studio, and Google Flow with zero budget.
Mastering Realistic AI Video Creation with Google Flow
Learn how to create a realistic AI video using Google Flow, from generating a photorealistic image to adding dialogue and gestures, all in one seamless workflow.